You’re thinking about your first flights of the season after the winter break. To get the year off to the best possible start, Flyeo offers ten tips to help you prepare for those first flights.
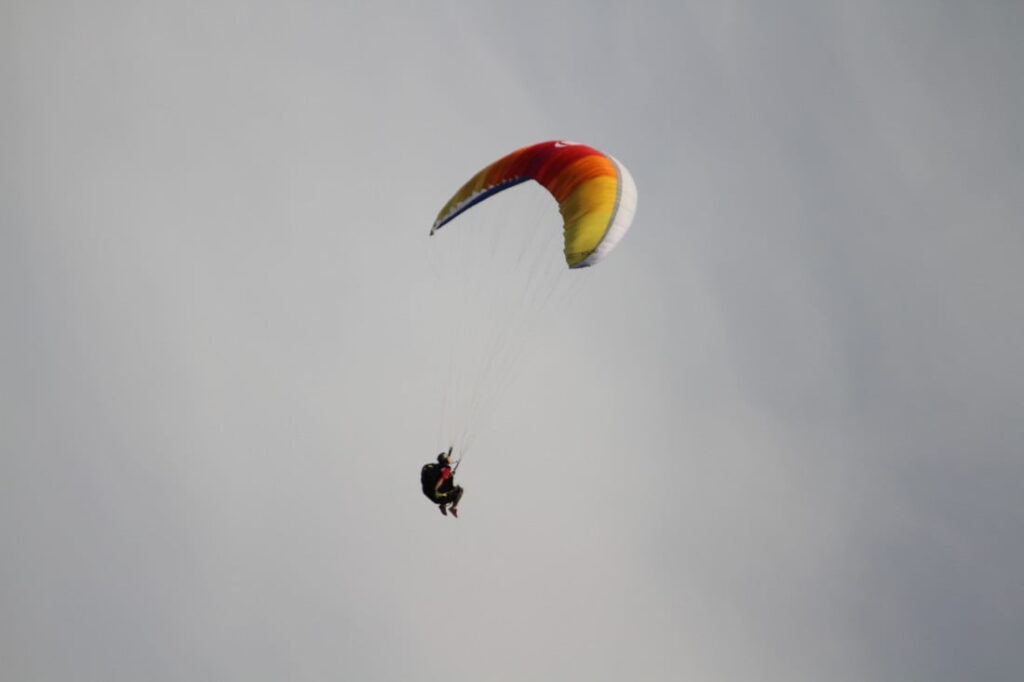
Despite the weather oscillating between summer and winter at the moment in our Northern Alps, the dates on the calendar and the first cross-country flights logged are not lying: the new paragliding season is on the horizon!
Conditions generally change fairly quickly from light to epic in May. As for pilots, they have often had little opportunity to get under their wings, having swapped them for skis or other sporting activities in winter.
So we asked our team of instructors for their advice on how best to prepare for the new season.
Check your gear
There’s a good chance your gear has spent the winter in the cupboard, more or less in the same condition as when you packed it up after your last outing. Even if that’s not the case, it’s a good idea to have a look at it before the start of the season:
Start with your wing. Check the leading edge, the upper surface, the inside of the cells, especially the seams and the internal structure. Small tears are possible, they can simply be repaired using the materials supplied when you bought the glider. Look at the risers, line by line. Are they fraying? What about the links on each line, are they still tight?
It’s recommended that you have a glider inspection every two years or 100 hours of flying. If you’re close to it, think about calling in a professional, who will also be able to readjust the lines if necessary. In Annecy, we work and recommend Certika.
While you’re at it, why not wipe off that muddy stain you’ve had since last season? It’s nice to start the new year with a clean canopy!
Then move on to your harness. Same thing, are there any tears that need repairing? What about the straps? If you haven’t had a chance to go on a gantry to readjust them, now might be the time…
Then into your flight instruments. Maybe there is a software update you’ve been ignoring for a few months? Or that new configuration your mate told you about that you want to try out.
Finally, go through all the rest of your equipment. Repair, clean, adjust or replace as necessary. It’s best to do all this at the start of the season.
Repack your reserve (or get a new one)
What about your reserve parachute? Depending on the brand, it’s recommended that you repack it every 6 or 12 months. The start of the season is ideal – you might as well start it with a freshly packed reserve!
Most paragliding schools offer a rescue repacking service. This requires a professional with the necessary skills and knowledge to take care of it. Flyeo, in particular, offers repacking services for all types of rescue, whether round, square or steerable.
Similarly, most paragliding clubs also offer a rescue packing day where all members have the opportunity to pack their rescue under the supervision of a qualified instructor. This is an opportunity to repack your rescue for free or at a lower cost.
It should be noted that reserve parachutes, even if they are not thrown, have a fixed lifespan, typically 10 years. After 5 or 6 years, you should consider selling an old model that may still have a few years of life left in it. Like all paragliding equipment, this product is of course evolving rapidly. The latest models are more compact and lighter, with faster opening times and slower descent speeds. So, if you can afford it, why not upgrade to a newer, higher-performance model?
If in doubt, find out how to pack your rescue parachute.
Consider a first outing dedicated to ground handling to get your sensations back
As the saying goes: ‘One hour of groundhandling equals two hours of flying’. Before taking your first flight, even if you are craving it, it’s a good idea to spend some time ground handling to get a feel for how your paraglider behaves.
On take-off, even in strong winds, you won’t have any issue. And in flight, this ground handling session will have reminded you what to expect from your glider.
Re-familiarise yourself with your local flighting site
Similarly, if you haven’t flown since last season, take a moment to re-familiarise yourself with your flying site. Remember its specific characteristics, which wind directions it’s perfect for, and which require more sustained attention. Are there any changes to the landing site, required approach, new buildings that affect the aerology?
In spring in particular, some birds may be nesting, leading to restrictions on certain flying areas. Find out before you take off!
Be ready for strong conditions in spring
Ready for your first flight of the season? Spring conditions can be very strong. The air is still fresh, so the thermal difference between the ground, which warms up quickly under the strong spring sunshine, and this fresh air can lead to costal thermals! What’s more, if the conditions are unstable and the ceiling high, it could be smoky!
If in doubt, and if it’s your first flight of the season, wait until things calm down in the middle of the afternoon… There’s no need to scare yourself on your first flight.
Don’t wait for the perfect day
If the conditions aren’t great, there’s no point in waiting for ‘the perfect day’ either. It doesn’t exist. And the best days, early in the season, will certainly be those that see the most pilots as anxious as you are to fly. You might as well avoid the crowds on the big days and all the associated risks and frustrations.
It’s better to take it easy on those first few flights and get back into the swing of things quickly. Finish adjusting your equipment so that your first big flight takes place in the best possible conditions.
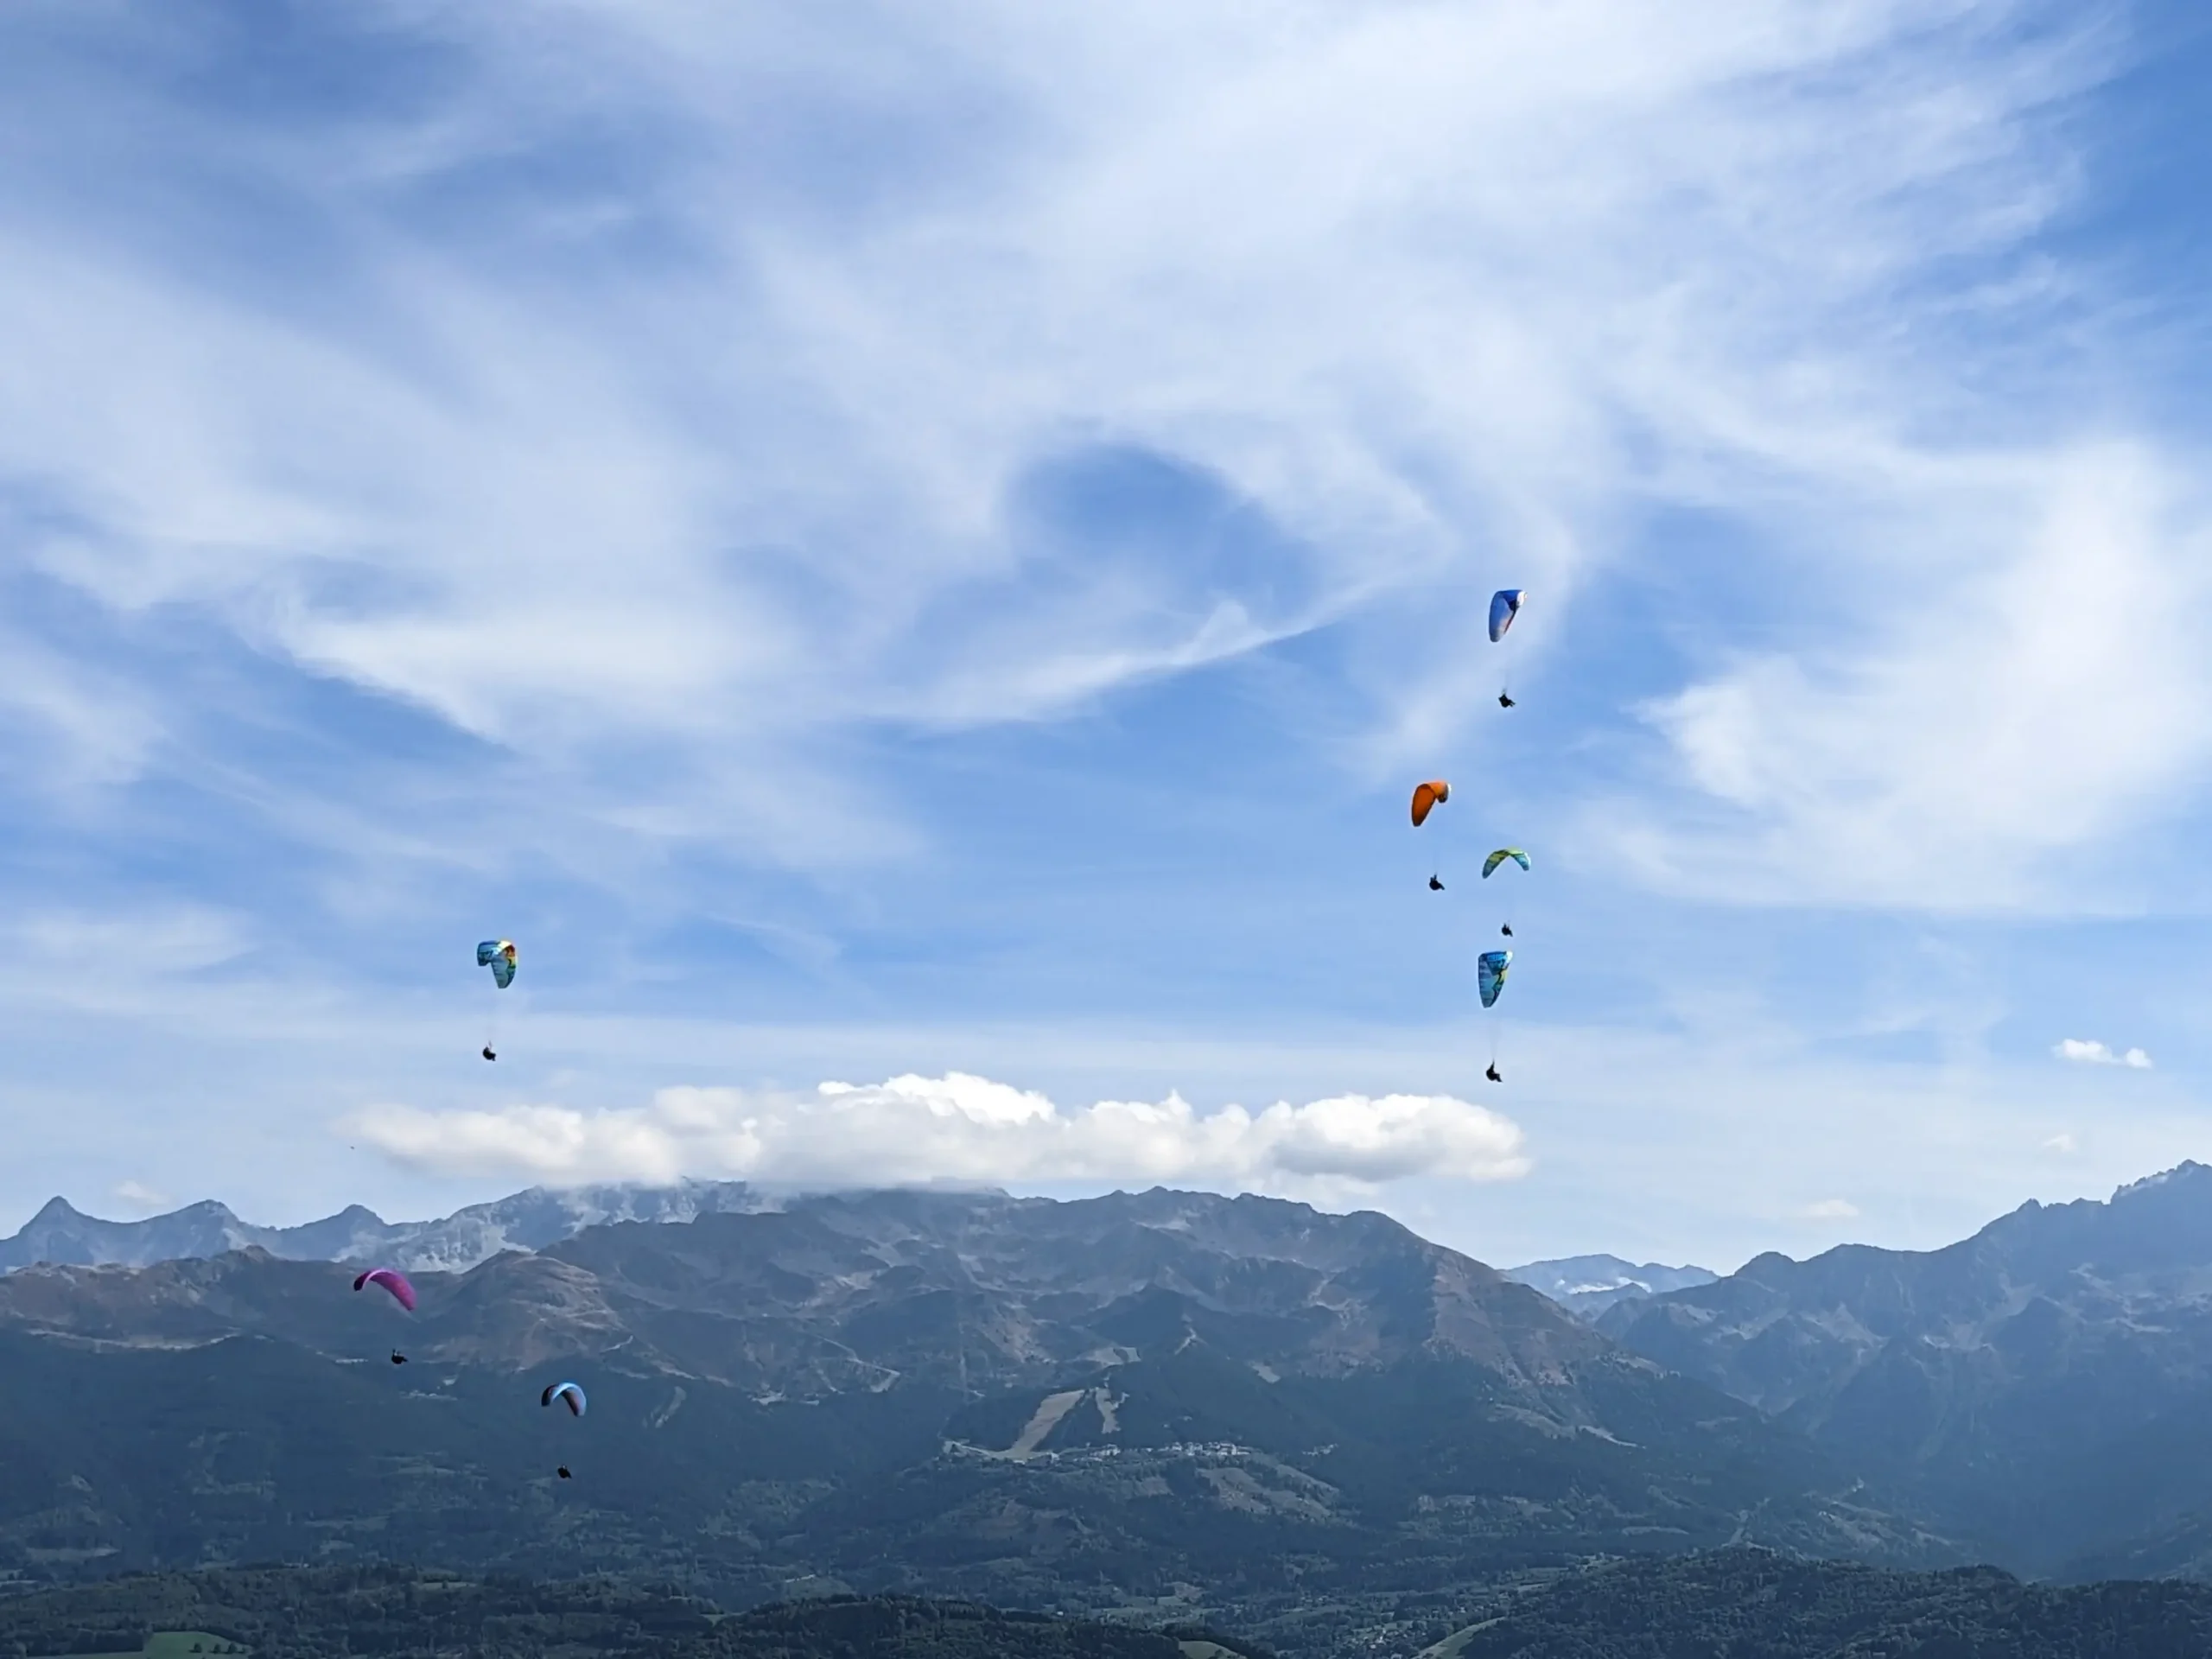
Fly with other pilots
If you have a group of pilots with whom you get together to fly from time to time, it’s a good idea to suggest that the first flights of the season be done together. Why? Because it’s easier to motivate yourself as a group, discuss your doubts and review the basics together.
It’s also easier to set objectives, decide on a flight plan and, together, try to achieve them.
And it’s nice to have a debrief after the flight, over refreshments, to discuss the experience and what could be done differently on the next outing.
Choose what you are wearing wisely
The sun may be shining and it feels decidingly mild… almost summer-like. You might be tempted to pack light clothes, even swap your winter gloves for the lighter summer ones.
But be warned, it’s highly likely that once you’re up in the air, and even more so as you gain altitude, it is rather cold. If the conditions are unstable, the temperature will, by definition, fall quickly with height. It would be a shame to have to land because you’re cold!
Our advice is to plan your first flights as you would at the end of the season. It’s better to be too warm on take-off and open your jacket than the other way round. But don’t forget your sunglasses. And sun cream too!
Eat and hydrate properly before take-off and during the flight.
In the spirit of being well prepared for any eventuality, make sure you don’t take off hungry or dehydrated. You’ll appreciate not running out of energy or concentration.
If the conditions are right and the flight gets longer, make sure you have enough water to drink and even something to eat to stay on top of your game and continue your cross-country flight.